Appearance
XMPlus on Hestia CP (Debian 11 OS)
WARNING
The installer needs to be run as root, either directly from the terminal or remotely, using SSH. If you do not do this, the installer will not proceed.
Requirements
| Minimum | Recommended | |
|---|---|---|
| CPU | 1 core, 64-bit | 4 cores |
| Memory | 1 GB (no SpamAssassin and ClamAV) | 4 GB |
| Disk | 10 GB HDD | 40 GB SSD |
| Operating System | Debian 10, 11 or 12 | Latest Debian |
WARNING
Hestia only runs on AMD64 / x86_64 and ARM64 / aarch64 processors. It also requires a 64bit operating system! We currently do not support i386 or ARM7-based processors.
Download
Download the installation script for the latest release:
bash
wget https://raw.githubusercontent.com/hestiacp/hestiacp/release/install/hst-install.shIf the download fails due to an SSL validation error, please be sure you've installed the ca-certificate package on your system - you can do this with the following command:
bash
apt-get update && apt-get install ca-certificatesRun command to Install hestia CP
To begin the installation process, simply run the script and follow the on-screen prompts:
bash
bash hst-install.sh \
	--interactive no \
	--hostname host.domain.tld \
	--email email@domain.tld \
	--password youradminpass \
	--port 8083 \
	--api no \
	--force
Reboot server
bash
rebootinstall php 8.1
bash
v-add-web-php 8.1Remove php8.2
bash
v-delete-web-php 8.2Install ioncube
bash
wget https://raw.githubusercontent.com/jaapmarcus/ioncube-hestia-installer/main/install_ioncube.sh
chmod +x install_ioncube.sh
./install_ioncube.sh
Install Redis server
bash
apt-get install redis -y
sudo systemctl start redis.service
sudo systemctl enable redis
sudo systemctl status redis.service

redis-cli ping

# This should print PONG as the response. If this is the case, it means you now have Redis running on your server and we can begin configuring it to enhance its security

# Set password for redis authentication.  Uncomment requirepass foobared.

vi /etc/redis/redis.conf

#requirepass yourpassword

sudo systemctl restart redis.service
Login hestia CP
To access your control panel, navigate to https://host.domain.tld:8083 or http://your.public.ip.address:8083
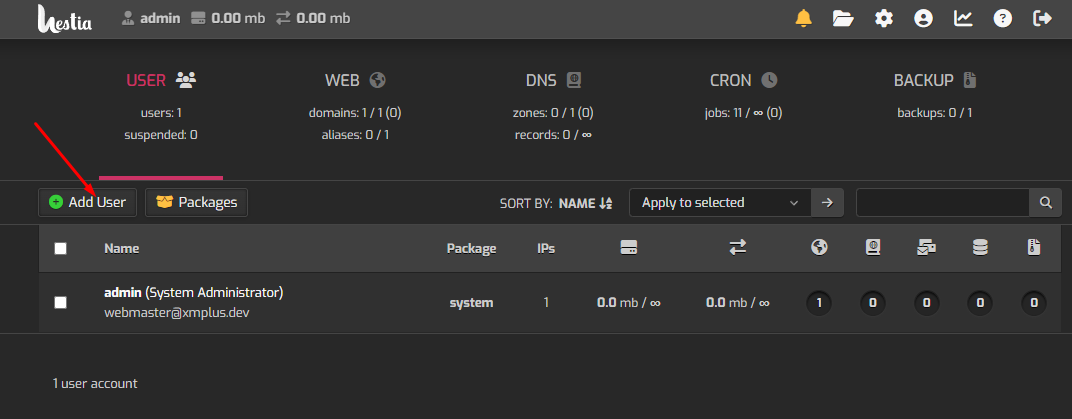
Create a new user.
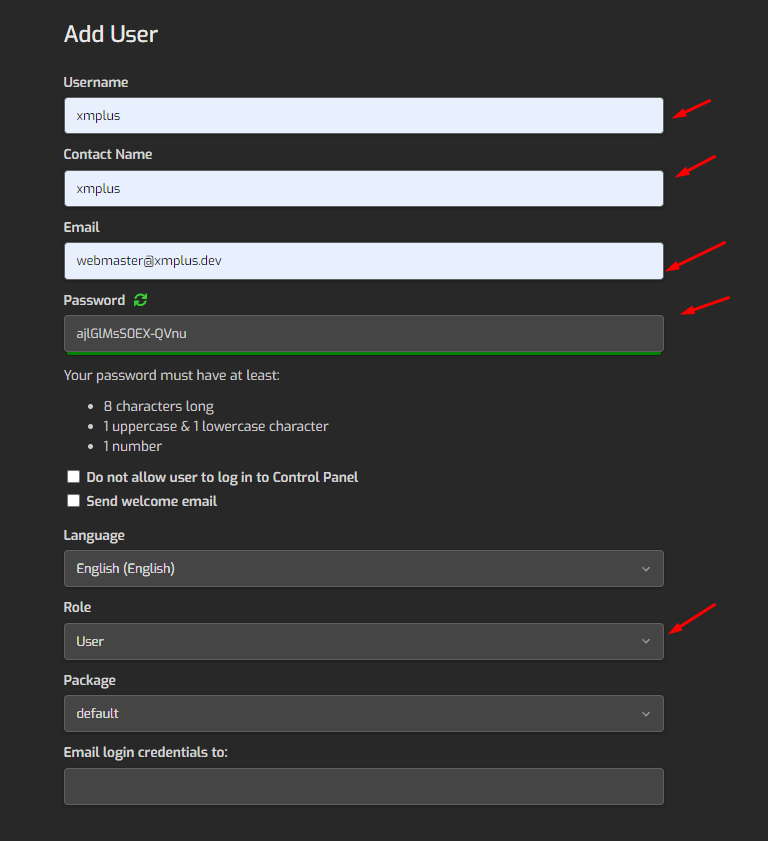
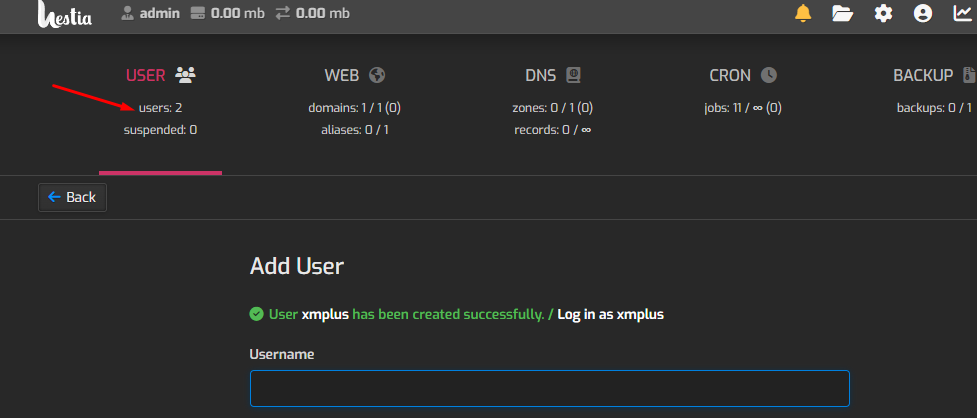
Fill in the required fields
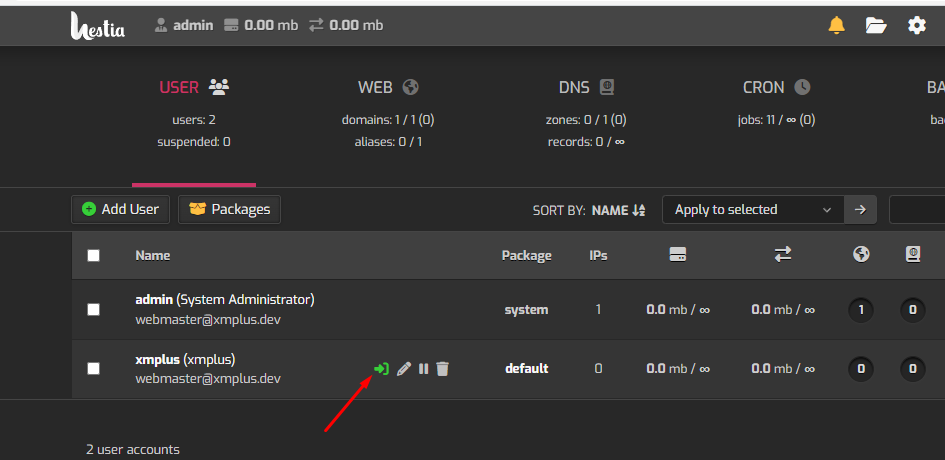
Navigate to user list and login to the new user created
WARNING
Panel must be installed on main authorized domain eg, tld.com or www.tld.com.
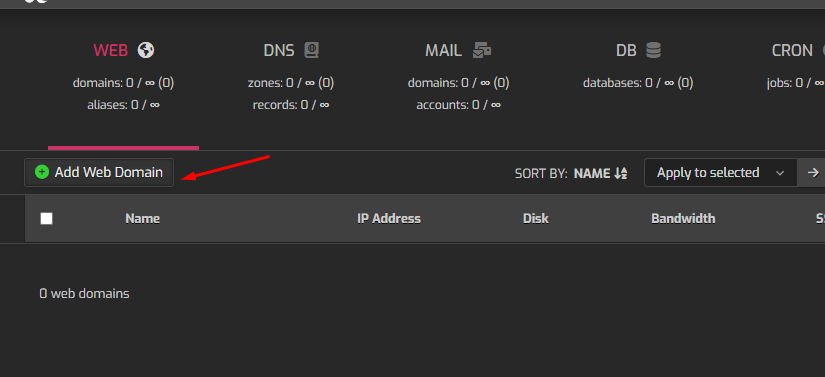
Add a new domain to the panel for your website
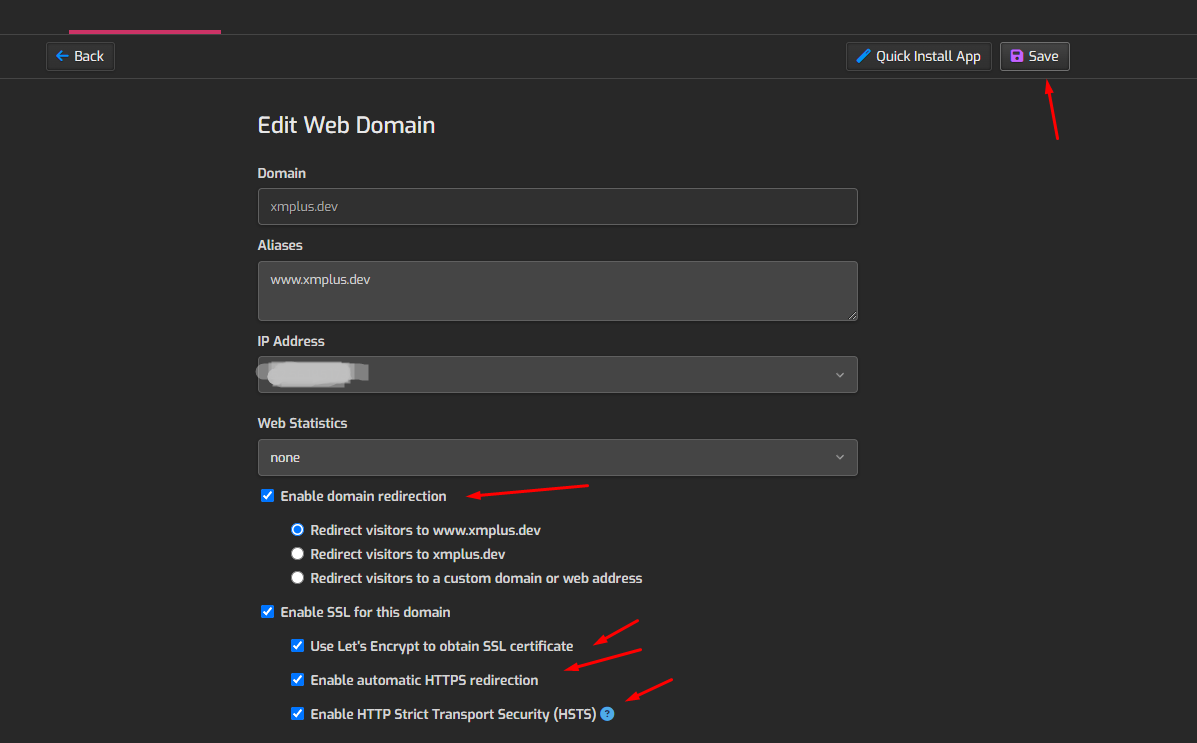
Edit the domain and check options to enable ssl or manually input your certificate and privatte key.

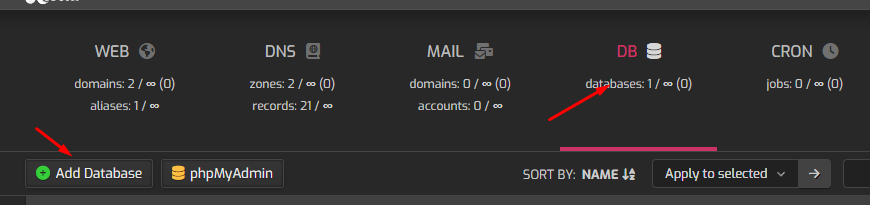
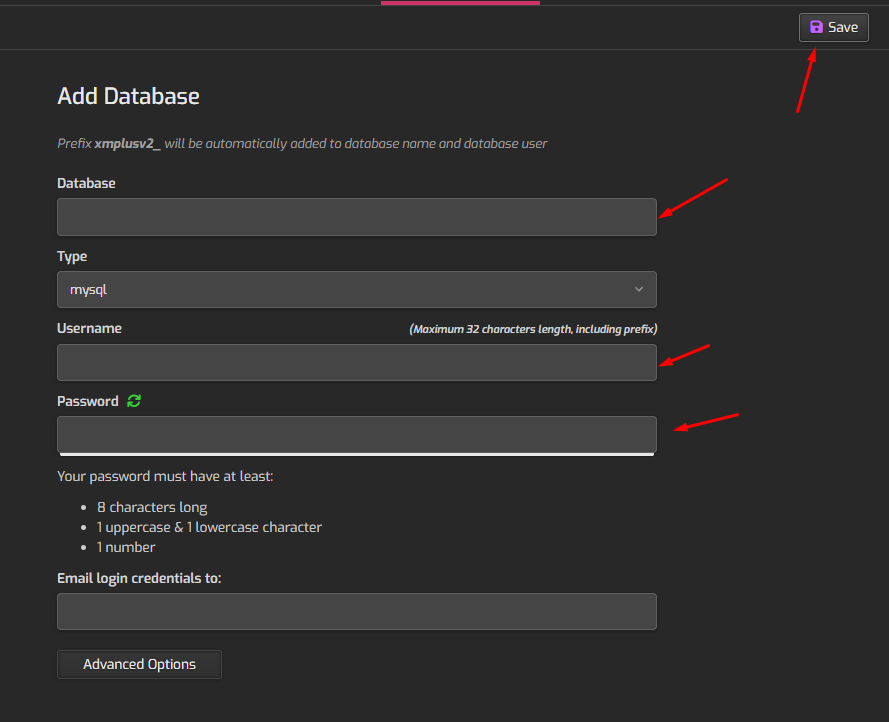
Navigate to Database for same user and create two(2) databases for XMPlus panel and telegram bot.
XMPlus installation
Upload XMPlus.zip to your website document root and unzip it's contents.
With SSH opened run command to the document root
bash
cd /home/user/web/domain.com/public_html

unzip XMPlus.zip
Install required packages with composer
bash
php composer.phar install -nDownload applications
bash
php console downloadEdit panel config file
bash
vi /home/user/web/domain.com/public_html/config/config.phpFill in your databases and redis server details.
Import sql/xmplus.sql to your xmplus database and sql/telegram.sql to the bot database.
Create XMPlus Admin account
bash
cd /home/user/web/domain.com/public_html

php console create:admin
Login panel https://domain.com
Adding cronjob for XMPlus
run ssh cron command
bash
crontab -eAdd cronjob
bash
* * * * * cd /home/user/web/domain.com/public_html && sudo /usr/bin/php console run:scheduler >> /dev/null 2>&1